前回はLidarからPCD(Point Cloud Data)までを作成した。
今回はそのPCDをPCL(Point Cloud Library)で前処理して、Meshlabという 3d PointCloud用アノテーションソフトでアノテーションしてから、機械学習のデータセット(例えばpointnetとかsemantic 3dとかのDNN)として使えるまでの手順をまとめた。
長いのでやったこと淡々とまとめるだけの備忘録。
全体の流れ

全体のネットワーク図

目次
1.PCLでPCDの前処理
2.PCDをPLYで保存
3.PLYをMeshに変換
4.MeshLabでMeshをアノテーション
5.機械学習データセットとして読み込む
1. PCLでPCDの前処理
今回は都合上「table_scene_lms400.pcd」という参考用のPCDをgithubから拝借して使う。
PCLにはいろんな処理があるけど、とりあえず参考になりそうなものを順番に適用して前処理してみた。
上から順番に処理しているので、だんだん良くなってる。
table_scene_lms400.pcd

filter

planar_segmenter
downsampler

clusterer

下の順番で前処理したGIF
PCLはまだまだたくさんあるけど、Voxel化してdownsampleする方法はかなり使われているようだった。
参考:Downsampling a PointCloud using a VoxelGrid filter
2. PCDをPLYで保存
PCLで前処理したPCDはMeshLabで読み込むためにPLY形式で保存する必要がある。よく変換に使うのは
・open3d
PCLの変換コード(pcd2ply.cpp)
#include <pcl/io/pcd_io.h>
#include <pcl/io/ply_io.h>
#include <pcl/console/print.h>
#include <pcl/console/parse.h>
#include <pcl/console/time.h>

using namespace pcl;
using namespace pcl::io;
using namespace pcl::console;

void printHelp (int, char **argv)
{
  print_error ("Syntax is: %s [-format 0|1] [-use_camera 0|1] input.pcd output.ply\n", argv[0]);
}

bool loadCloud (const std::string &filename, pcl::PCLPointCloud2 &cloud)
{
  TicToc tt;
  print_highlight ("Loading "); print_value ("%s ", filename.c_str ());

  tt.tic ();
  if (loadPCDFile (filename, cloud) < 0)
    return (false);
  print_info ("[done, "); print_value ("%g", tt.toc ()); print_info (" ms : "); print_value ("%d", cloud.width * cloud.height); print_info (" points]\n");
  print_info ("Available dimensions: "); print_value ("%s\n", pcl::getFieldsList (cloud).c_str ());

  return (true);
}

void saveCloud (const std::string &filename, const pcl::PCLPointCloud2 &cloud, bool binary, bool use_camera)
{
  TicToc tt;
  tt.tic ();

  print_highlight ("Saving "); print_value ("%s ", filename.c_str ());

  pcl::PLYWriter writer;
  writer.write (filename, cloud, Eigen::Vector4f::Zero (), Eigen::Quaternionf::Identity (), binary, use_camera);

  print_info ("[done, "); print_value ("%g", tt.toc ()); print_info (" ms : "); print_value ("%d", cloud.width * cloud.height); print_info (" points]\n");
}

/* ---[ */
int main (int argc, char** argv)
{
  print_info ("Convert a PCD file to PLY format. For more information, use: %s -h\n", argv[0]);

  if (argc < 3)
  {
    printHelp (argc, argv);
    return (-1);
  }

  // Parse the command line arguments for .pcd and .ply files
  std::vector<int> pcd_file_indices = parse_file_extension_argument (argc, argv, ".pcd");
  std::vector<int> ply_file_indices = parse_file_extension_argument (argc, argv, ".ply");
  if (pcd_file_indices.size () != 1 || ply_file_indices.size () != 1)
  {
    print_error ("Need one input PCD file and one output PLY file.\n");
    return (-1);
  }

  // Command line parsing
  bool format = true;
  bool use_camera = true;
  parse_argument (argc, argv, "-format", format);
  parse_argument (argc, argv, "-use_camera", use_camera);
  print_info ("PLY output format: "); print_value ("%s, ", (format ? "binary" : "ascii"));
  print_value ("%s\n", (use_camera ? "using camera" : "no camera"));

  // Load the first file
  pcl::PCLPointCloud2 cloud;
  if (!loadCloud (argv[pcd_file_indices[0]], cloud))
    return (-1);

  // Convert to PLY and save
  saveCloud (argv[ply_file_indices[0]], cloud, format, use_camera);

  return (0);
}
3. PLYをMeshに変換
PLYで保存したらMesh化する必要がある。詳しくは知らないけど、ポリゴン化してxyz座標以外に先頭に「face elements」をつける必要があるらしい。
ShapeNet用のデータセット「PASCAL3D+」のoffファイルの中身
$ cat 06.off
3 20365 20364 20357
3 20355 20349 20357
3 20355 20349 20353
3 20357 20349 20355
3 20357 20349 20363
3 20363 20349 20357
3 20349 20348 20353
3 20348 20349 20346
3 20344 20342 20346
先頭の3が「face elements」。
とにかくPLYをMesh化する(face elementsをつける)必要があって、主にopen3dとtrimeshを使った。
ply2mesh.py
import os, sys
import numpy as np
import open3d as o3d
import trimesh

def o3d_create_mesh(pcd_path):
    pcd = o3d.io.read_point_cloud(pcd_path)
    pcd.estimate_normals()
    # estimate radius for rolling ball
    distances = pcd.compute_nearest_neighbor_distance()
    avg_dist = np.mean(distances)
    radius = 1.5 * avg_dist

    mesh = o3d.geometry.TriangleMesh.create_from_point_cloud_ball_pivoting(
            pcd,
            o3d.utility.DoubleVector([radius, radius * 2]))

    # create the triangular mesh with the vertices and faces from open3d
    tri_mesh = trimesh.Trimesh(np.asarray(mesh.vertices), np.asarray(mesh.triangles),
                            vertex_normals=np.asarray(mesh.vertex_normals))
    trimesh.convex.is_convex(tri_mesh)
    return tri_mesh

def main(pcd_path, ply_path):
    polygon_mesh = o3d_create_mesh(pcd_path)
    polygon_mesh_ = trimesh.exchange.ply.export_ply(polygon_mesh, encoding='ascii')
    output_file = open(ply_path, "wb+")
    output_file.write(polygon_mesh_)
    output_file.close()

if __name__=='__main__':
    if len(sys.argv) < 2:
        print('python3 ~.py <pcd_path> <ply_path>')
    else:
        pcd_path, ply_path=str(sys.argv[1]), str(sys.argv[2])
        main(pcd_path, ply_path)
4. MeshLabでMeshをアノテーション
MeshLabはCADと同じような3Dデータの加工ソフト。
読み込めるファイル形式は多いが、PCDは無理なのでPLYで読み込む。
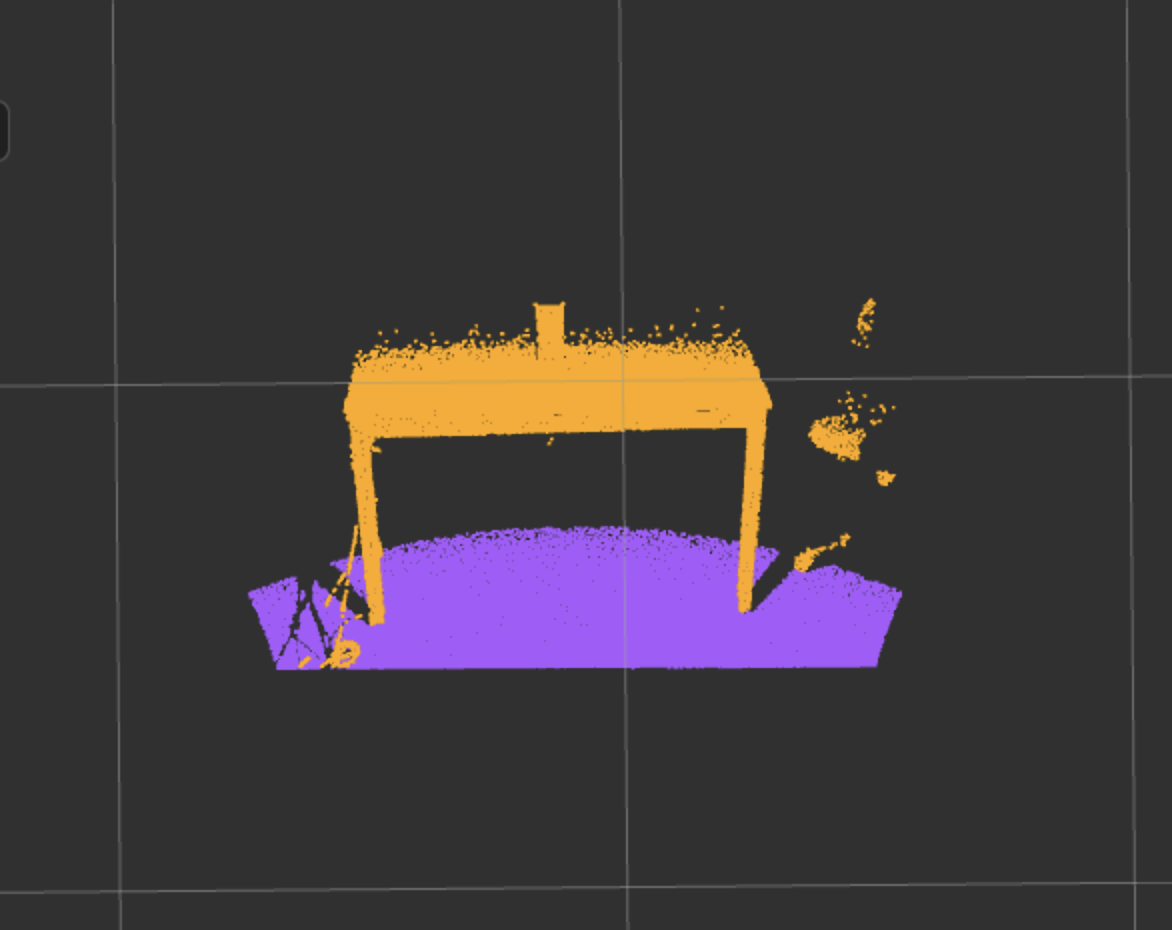
PLYでMesh化した「table_scene_lms400.ply」を読み込んでみる

終わったらOFFファイル形式でExport。
MeshLabの機能はPCLと同じことができるようなので、次記事でまとめたいと思う。
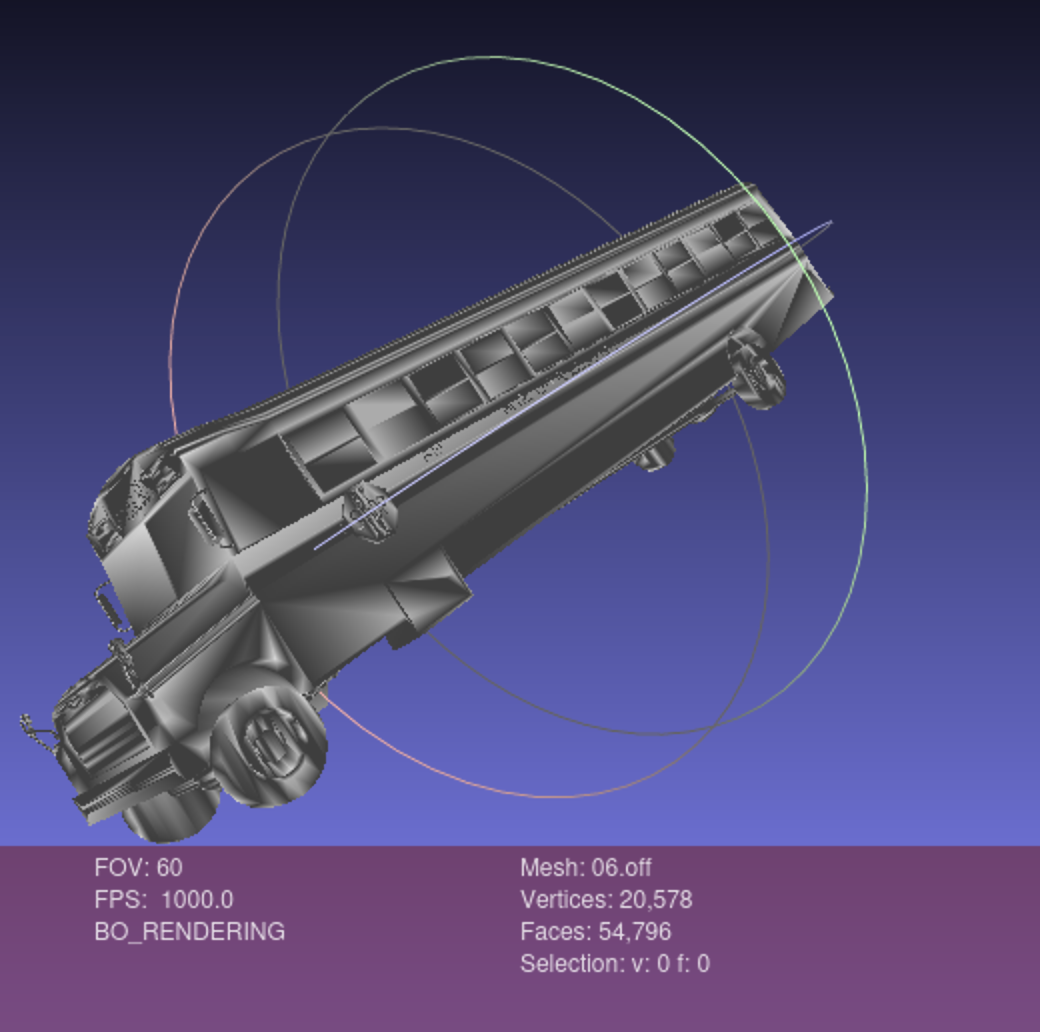
ちなみにShapeNet用のデータセット「PASCAL3D+」
のOFFファイル(人工データ)を参考にMeshLabで読み込んでみた。
5. 機械学習データセットとして読み込む
吐き出したOFFファイルをnumpyとkerasでloadしてみようと思う。ここからPointNetとかSemantic3DみたいなPoint Cloud用DNNのデータセットとして使える。
numpy
def read_off(filename):
    num_select = 1024
    f = open(filename)
    f.readline()  # ignore the 'OFF' at the first line
    f.readline()  # ignore the second line
    All_points = []
    selected_points = []
    while True:
        new_line = f.readline()
        x = new_line.split(' ')
        if x[0] != '3':
            A = np.array(x[0:3], dtype='float32')
            All_points.append(A)
        else:
            break
    # if the numbers of points are less than 2000, extent the point set
    if len(All_points) < (num_select + 3):
        return None
    # take and shuffle points
    index = np.random.choice(len(All_points), num_select, replace=False)
    for i in range(len(index)):
        selected_points.append(All_points[index[i]])
    return selected_points  # return N*3 array
Keras
import os, sys
import trimesh
import numpy as np

def point_plot(points):
    fig = plt.figure(figsize=(5, 5))
    ax = fig.add_subplot(111, projection="3d")
    ax.scatter(points[:, 0], points[:, 1], points[:, 2])
    ax.set_axis_off()
    plt.show()

def main(path, plot=False):
    mesh = trimesh.load(path)
    mesh.show()
    points = mesh.sample(2048)
    if plot:
        point_plot(points)

if __name__=='__main__':
    path = sys.argv[1]
    main(path)
trimeshでの表示結果

出来は別として、
lidar=>PCD=>PCL=>meshlab=>機械学習データセット
の順で一から作るシステムパイプライン的なものが無事作れた。
参考サイト
・Kinect等の色距離センサを用いた 点群処理と3D物体認識・Point Cloud Library (PCL) Class Reference
・Point cloud classification with PointNet
・How do I convert a 3D point cloud (.ply) into a mesh (with faces and vertices)?
・trimesh references
・How to determine output path directory for trimesh.exchange.ply.export_ply?